Showing posts with label budget. Show all posts

Sunday, April 28, 2013

Necklace Frames

For a few years (10? maybe) I have had this very nice jewelry box. It has 4 small drawers, one that is divided into 4 sections, and a large ring drawer. There is also a necklace "cabinet" that has turn-able hook wheel. The main problem is that most of my necklaces are longer than the height of the cabinet, so my necklaces constantly get tangled when I turn the wheel to find the one I want. And it is dark in the little cabinet, so I am not always able to see what I'm trying to find.

Thanks to Pinterest, I've seen lots of cool ideas for displaying jewelry as if it is artwork. I got a basic idea in my head of what I wanted to create and just kept my eyes open.

I was recently at a church rummage sale - you know, the kind where you fill a bag for a buck? - and found the supplies I was looking for: pictures frames and fabric. I found an empty frame to use, as well as a frame with "art" that I had no problems sending to the curb :) I found a lovely purple velour skirt to use as the fabric. After purchasing foam sheets and straight pins from the art supply store, I was ready to create my new necklace frames!

The "art" that can find a new home.

Remove the art and the glass from the frame.

Cut foam to fit the frame (I used the art as the template).

Cut the fabric to fit around the foam. I taped the back... it is not pretty!

The fabric on the foam.

Insert the foam/fabric into the frame and use the original backboard.

Both of the finished frames.

Hang pins a different points. A great way to display my jewelry!

It looks pretty and makes it easy to find what I want to wear.


Sunday, July 15, 2012

Granola Bars

Thanks to Pinterest, I have more recipes I want to try than I have time to actually try them. But it was time for the granola bars recipe. Yet another snack that my boys (including the big boy) inhale faster than I can purchase them. 30 bars gone in a week.

So yet again I used on online recipe to make some bars; no tweaking required... yay!! Well, a little tweaking, but only in the process, not in the ingredients. And it takes slightly longer than 3 minutes... maybe 5, but definitely less than 10.


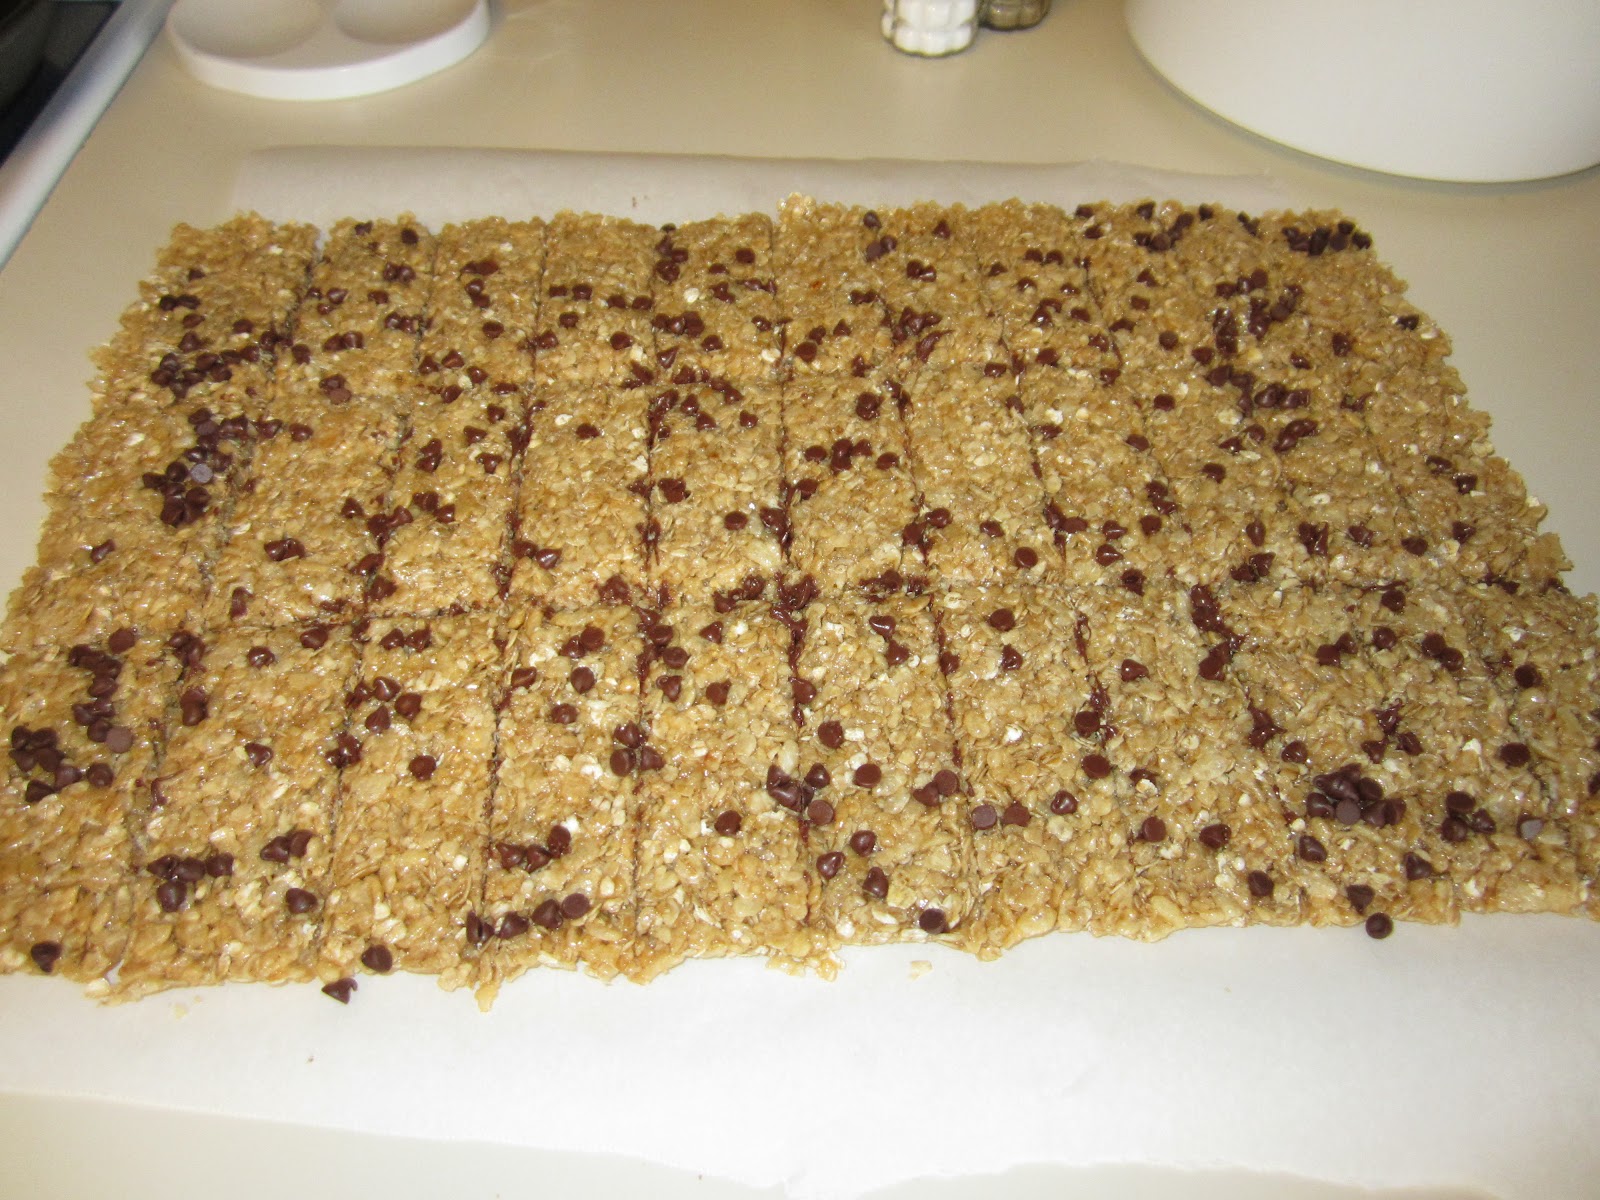
First tweak, I line my pan with parchment paper. My best baking friend is parchment paper. Whenever you want to be able to lift your item out of the pan to easily slice, use parchment. Oh, yeah. When I tried to "push" the mixture into the pan (by the way, the pictures involved a doubled recipe in my big jelly roll pan), the mixture stuck to the spoon and my fingers. So another sheet of parchment paper, my best baking friend. Now it was super easy to push the mixture really well into the pan.


The hardest part of the recipe: allowing the batch to rest on the counter for 2 hours WITHOUT my boys eating it.


When they are set, I just lift out using the parchment paper and slice. If I had been a little more exact with my sizing, I could have sliced this batch into 36 bars (3 x 12) but instead I only got 3 x 11 with the bars all the way to the left a bit wider than the rest. I place them in a plastic container, using the parchment (hurray for reuse!) to layer between levels, and leave them in the snack drawer to be devoured.

The flavor is reminiscent of rice krispie treats, but so much better since there is no marshmallow; I am not a rice krispie treat fan.

*If you need an invite to Pinterest, let me know :) I will need your email address to send the invite through Pinterest. But be prepared: IT IS AN ADDICTION!! Therapy may be needed in the future.

Gummies

I started a quest a few weeks ago to find a recipe for Gummy Fruit Snacks. My boys LOVE gummies and my budget can not afford to keep up with how quickly they eat through them. So I found this recipe online and began the experiment.

I followed the recipe exactly and used my mini-muffin pan, since I do not have any ice cube trays.


They were... decent. Not nearly enough flavor for me and my boys, but the texture was good. My next thought was to find a good balance of flavored gelatin with unflavored gelatin to get the additional flavor but keep the texture. I went through various experimental versions over the next two weeks.

Some were too jello-y and we needed a spoon to eat them.

Some had the consistency of a bouncy ball and we could not even bite them. No, we did not experiment with how high they could bounce since I did not want to encourage the boys to play with their food.

I'm now very close to what I want.


I use 3 ounces of concentrated juice (thawed), 5 teaspoons of flavored gelatin, and 4 teaspoons of unflavored gelatin. I am able to buy the gelatins in bulk, so that helps lower the cost of production: it comes out to 62 cents per batch! :) I purchased ice cube trays in different shapes to see what will happen; my boys love pirates! What is pictured below is actually three batches based on the 3:5:4 ratio. I placed them in the refrigerator for a while to help them set.


They are still too sticky for my likes, however the boys love them. The fruit and pirate trays worked really well, since they are silicone and I can bend them to get the gummies out. The white tray... not so good. I had to use my fingers to dig our the circles and hearts, and I am not able to get the stars out at all. I think I will just use them make ice cubes and purchase additional silicone trays. The boys really want gummies in super hero shapes :)


If you have any tips for helping them not to stick to the trays and/or for making the gummies a bit less sticky, I would love your suggestions.